
Preparing to create emails
Before you start creating email templates using the API, please ensure you have completed the steps described below.
In this tutorial, we will discover the steps to create and set up your template for utilizing the email generation method, and we will go through the procedure with the help of examples.
Create your template
You should use your own template, not a pre-built one or Stripo's basic template. The template should be saved in your project and accessible through API.
Typically, the template would include fixed elements such as a header and footer. Still, it must also have a dynamic section known as the "generation area" located somewhere in the middle. This area allows content to be automatically inserted through an API.
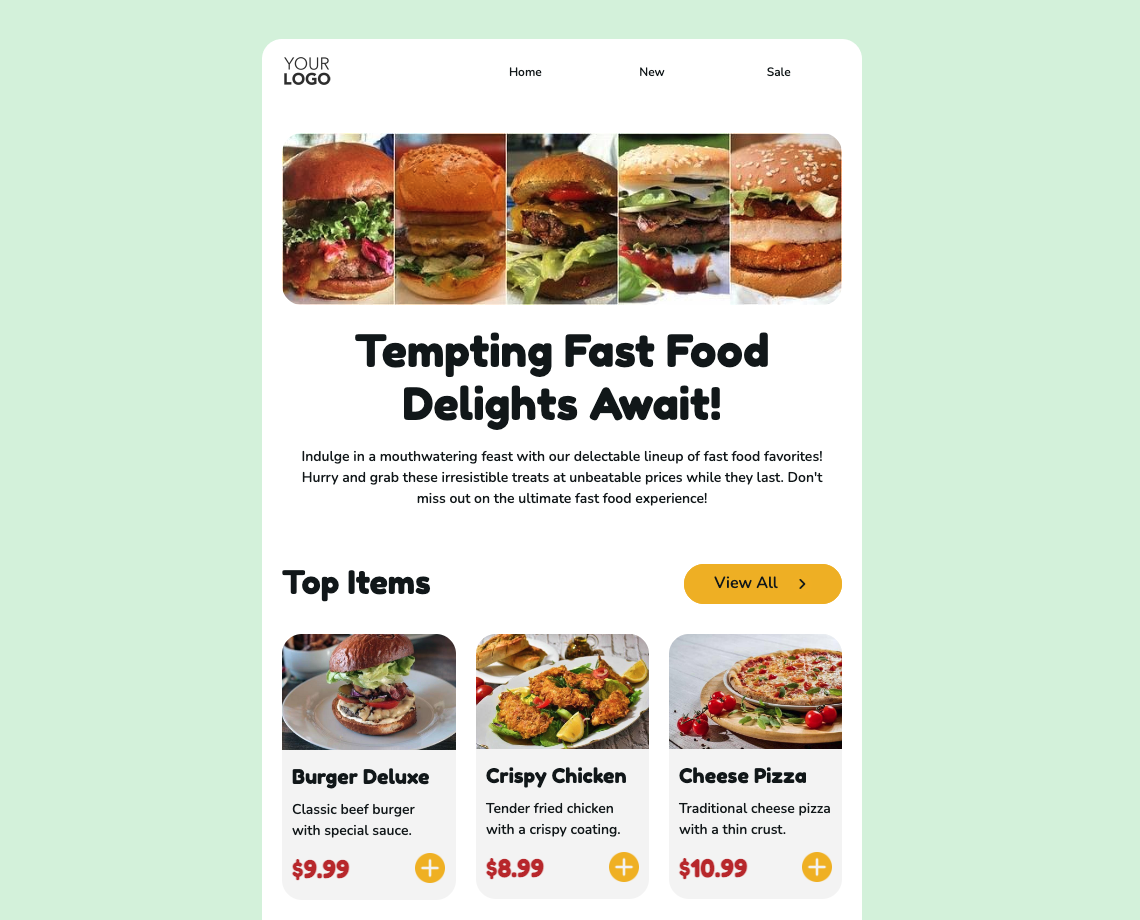
To demonstrate how it works, we've created a captivating template inspired by the enticing designs of fast food promotions. Let this visually appealing template guide you through the process effortlessly.
Please refer to this article for more information on creating your own email template.
Prepare your template
The next step is to get your template ready for API content insertion. It's assumed that you already have a template design that needs to be automatically generated. Typically, the template will contain a few static elements, such as a header and footer, that remain the same in every email generated. Additionally, dynamic elements like product cards or blog articles can be included, with content that varies from one email to another.
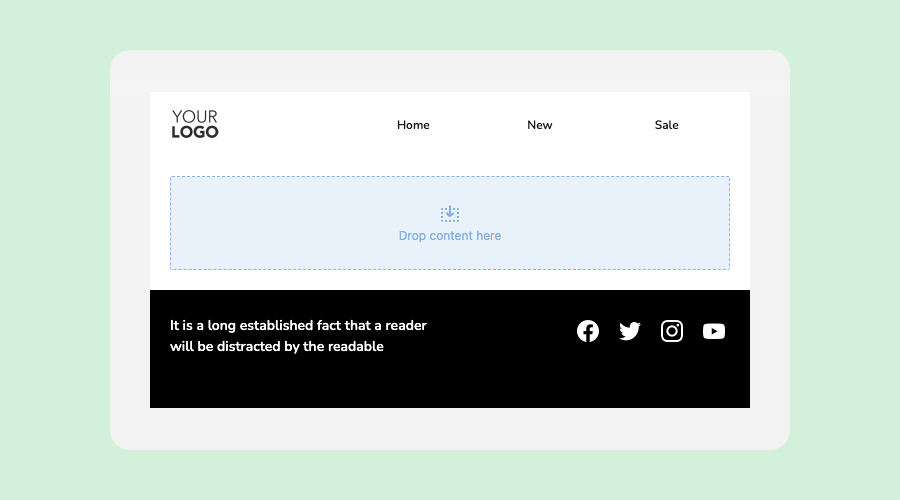
In this instance, the header and footer will remain static and won't be modified for future email messages.
To achieve this, all design elements are removed from the template, leaving only those that will remain static.
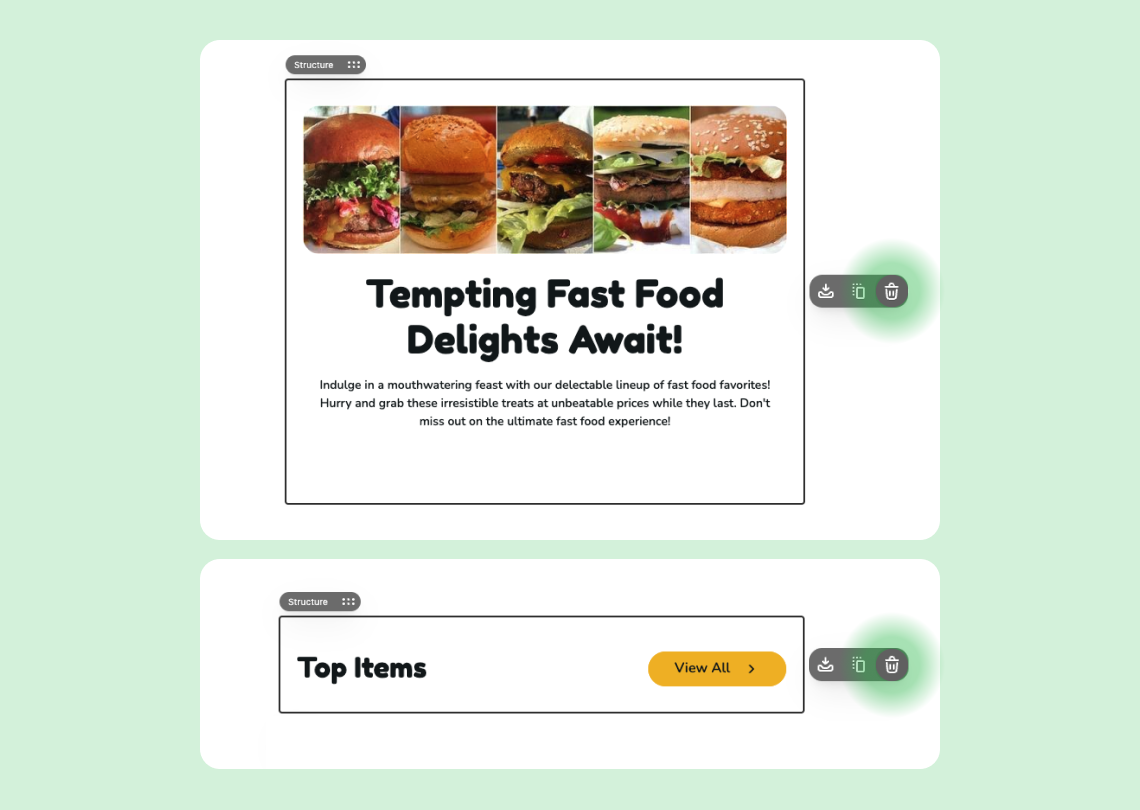
The result looks like this:
Now we must set up the generation area — the stripe with added the special class to its code. It’s needed to determine the place where the content should be inserted automatically when the “Generate an email” method is called.
To achieve this, add a blank stripe with a single column in the code editor and include the esd-email-gen-area="name_of_area" parameter in the td tag of the stripe. Here, name_of_area is a specific identifier you can choose to label this area as your preference. It can be any name you like.
Below illustrates a stripe with an email generation area labeled as the products-area.
<td class="esd-stripe" align="center" esd-email-gen-area="products-area">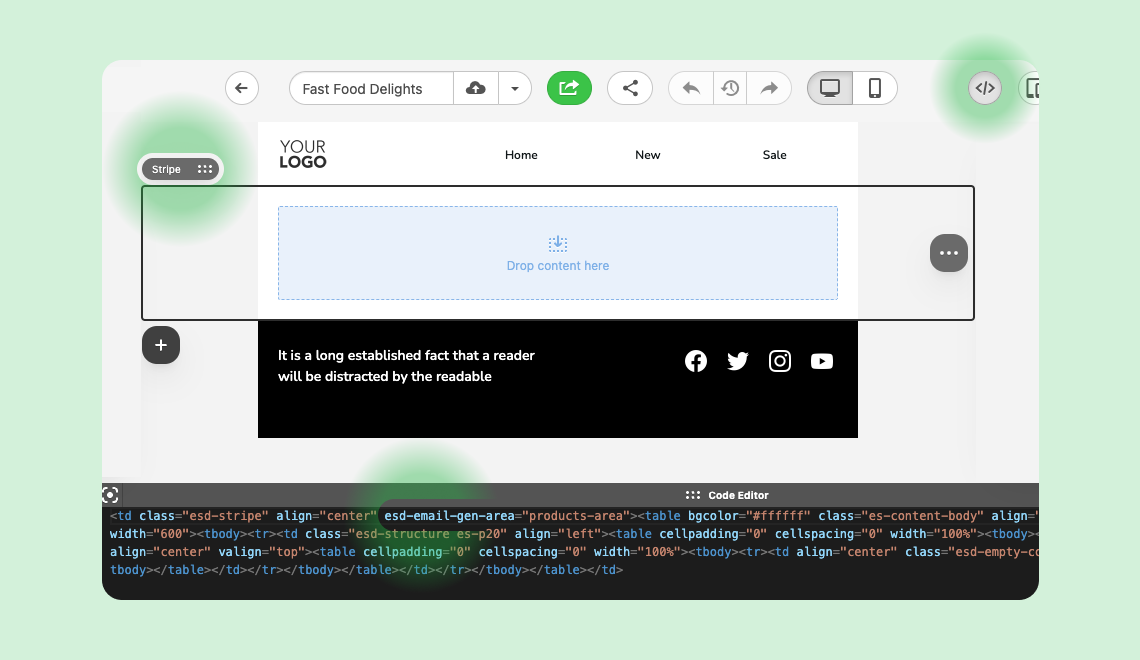
Save the modules you are going to use for email generation
Since all email messages created with the API are built from modules, preparing and saving them carefully is essential. It's necessary to review the design of your template and divide it into content units (modules), like bricks, which will form the final email message.
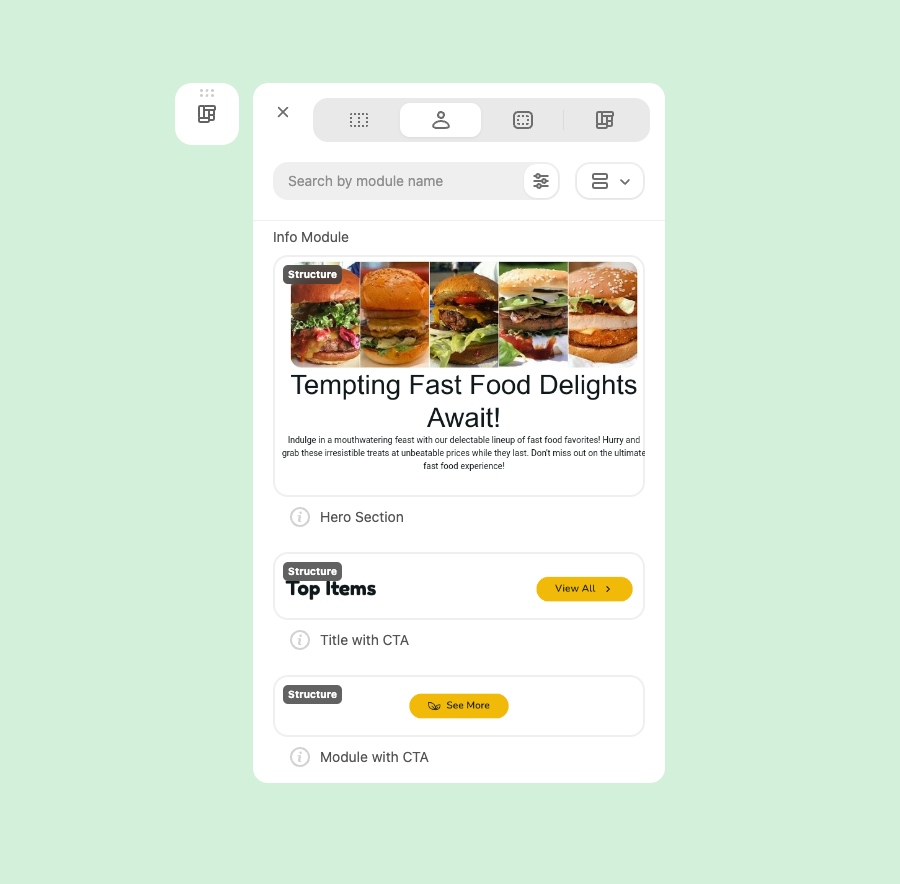
Save these modules to your Module Library for easy access. Once saved, they will be displayed as shown in the image below.
It's worth mentioning that modules can be either static (regular) or dynamic (with smart elements inside).
Understanding which modules suit you best is easyWhen it comes to inserting data from your data sources, such as product cards or blog articles, dynamic modules are the way to go. On the other hand, if you want the module to be inserted without any modifications, such as separators or banners, static modules are your best bet.
Let's take a look at how to prepare and save each module type below.
Static modules
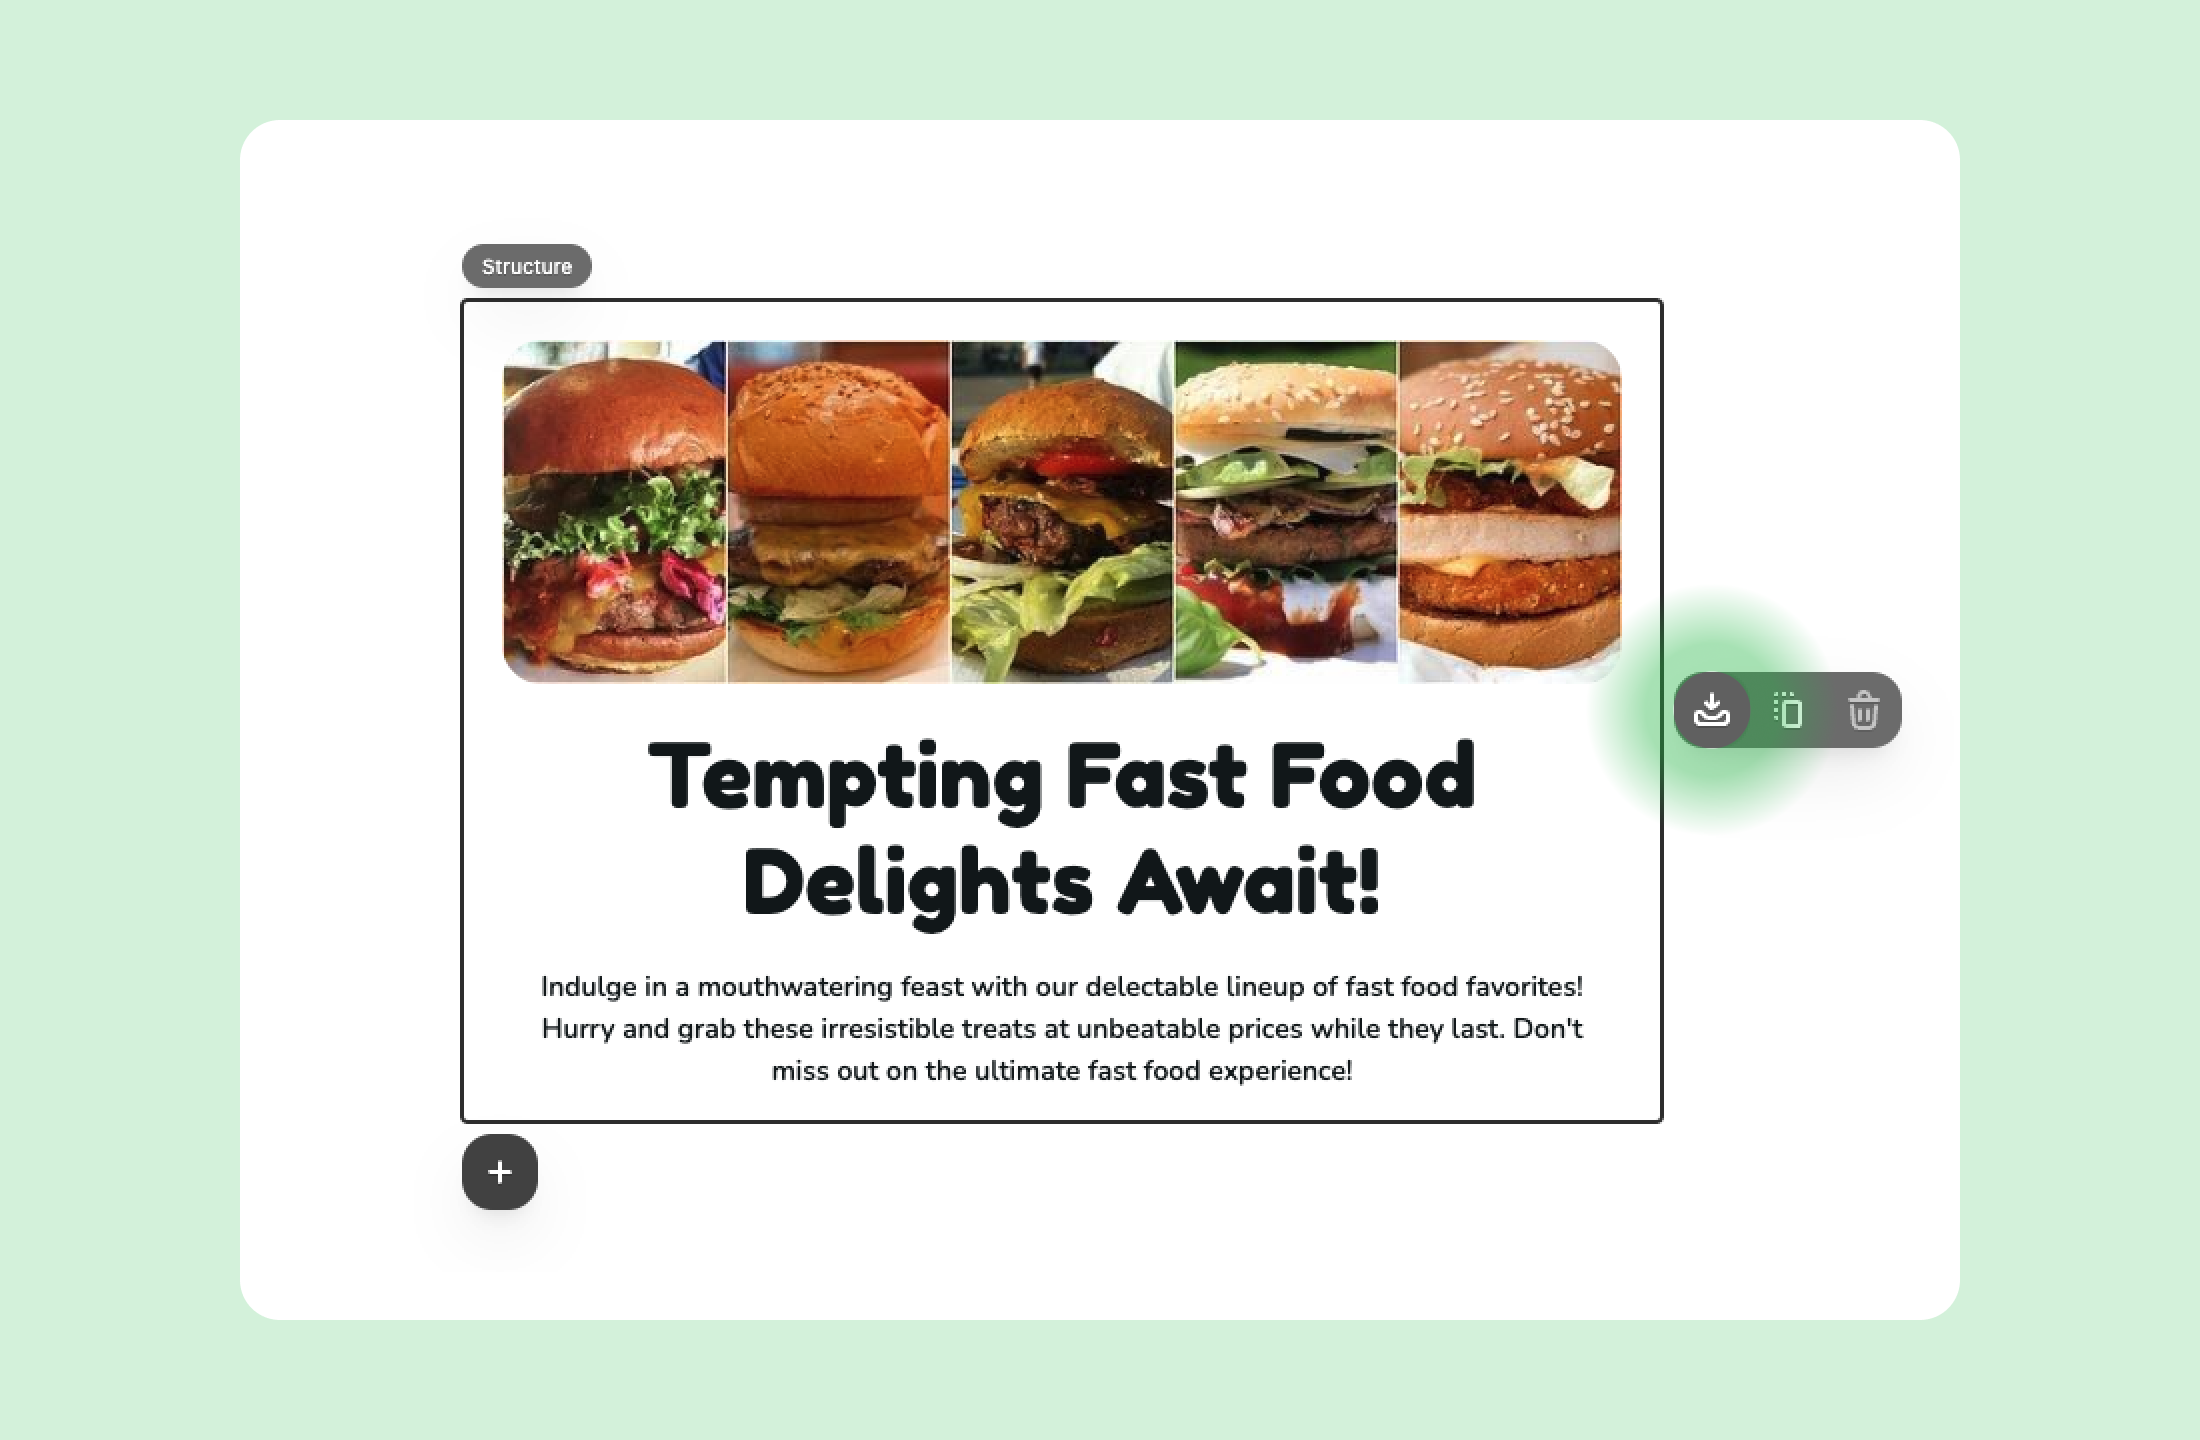
Saving a module as static is a simple process that only involves clicking the Save button. It can be a structure or container with the content you want to appear in your email template without any modifications.
After clicking the Save button, please define a suitable and easy-to-remember module ID in the settings area. We'll later show you how to use this ID in the request to generate your email message.

Dynamic modules
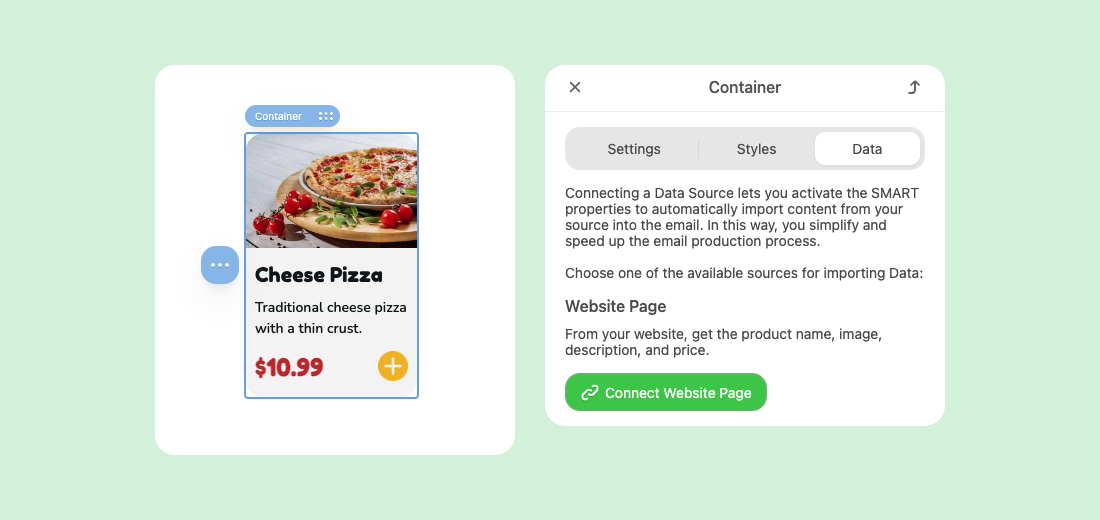
If you want the data inside modules to be dynamic in the future, we suggest enabling smart properties. To create a product card with smart properties, click on the module and select the Data tab.
With this approach, you only have to set up the module once, arranging the variables like title, picture, and price in the desired order and appearance.
Firstly, you should add the needed variables. In my example, there are:
- link to the item on your website;
- an image of the product;
- its title;
- the short description;
- and a price.

A configuration tab will be created for each added variable; in this case, there will be 5 tabs.
Next, configuration rules need to be set up to map the content values for these variables. Please use the UI constructor to specify each variable's content location within this module.
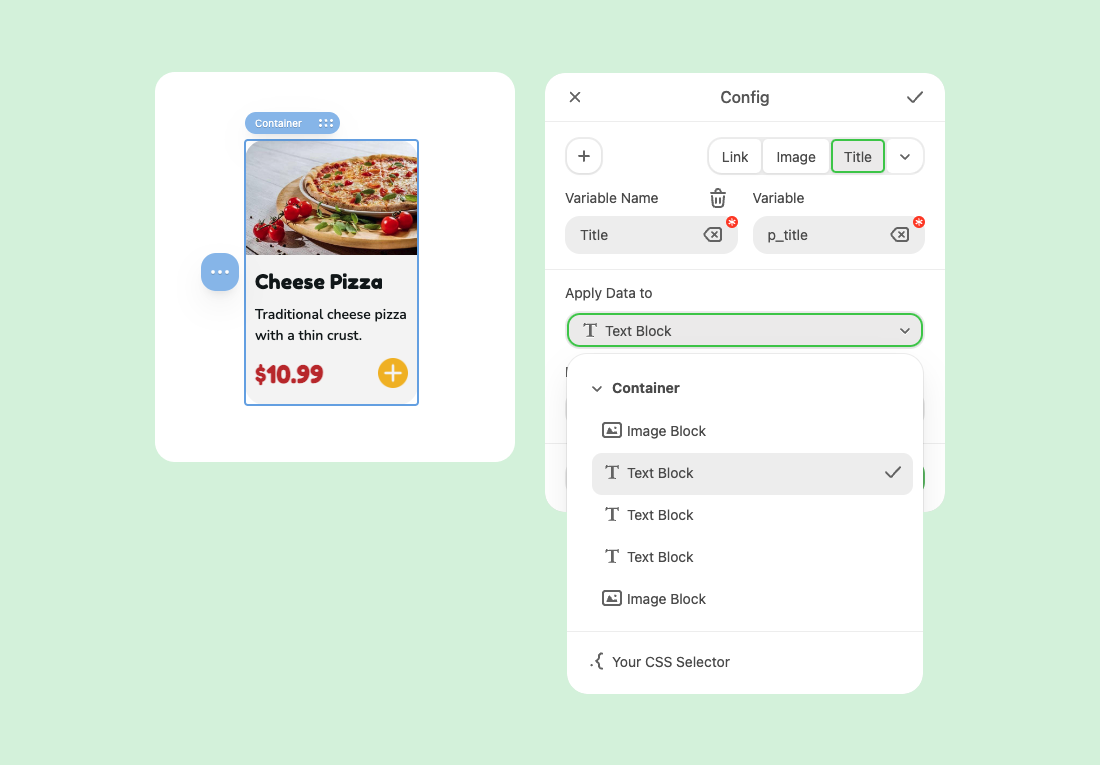
The rules for applying the values of the variables in our smart element have been set up above. Now, the container with smart properties can be saved as a module by setting its ID (e.g., "product_card" as in our example), and the variables will be retained for future use.

Good to knowTo learn more about smart properties, please refer to the article.
You should perform the same actions with the other modules as well.
Our template has a structure with three cards in a row, so we will drop the same structure with 3 empty containers to save it.

In your case, it can be a structure with any number of containers (up to 8), depending on the template’s design.
Please be advisedIf you intend to use dynamic data for headings or other elements, you may also save them as containers or structures within the modules. The primary objective of this stage is to save all the parts of email messages that you plan to use while creating email messages through the API.
What next?
After completing all the aforementioned steps, it is time to prepare your request for generating email messages.
There are two options available for utilizing the API to generate email messages:
- Basic. If you're new to Stripo, we suggest beginning with this method for generating your email messages through the API. With this approach, you specify the modules to be included in your email message from top to bottom and the corresponding data to be inserted into those modules. Read more about this here.
- Advanced - In your request, you differentiate the data to be populated into an email campaign from the modules that define the email message layout. In this scenario, we employ the SRT transformer, which assists in determining the order of the modules utilized. Read more about this here.